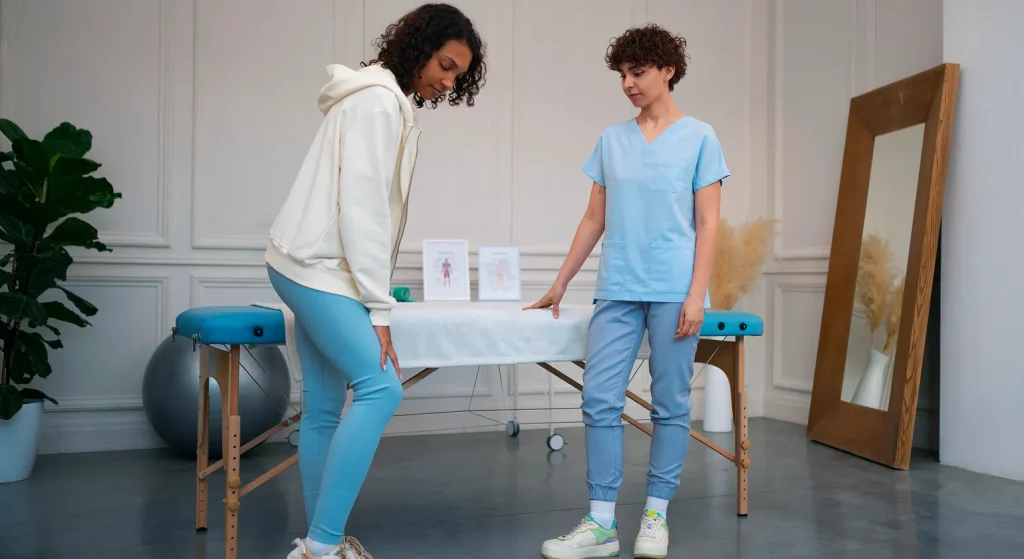
Cupping therapy is no longer just something you notice on athletes or celebrities. It’s a centuries-old healing technique that is now becoming part of modern households and even recommended by some of the best physiotherapy experts. Whether you’ve heard about it from a friend, noticed round spots on someone’s back, or simply want a natural way to ease pain, cupping therapy at home can be an excellent addition to your self-care routine. The outcome? Increased blood flow, muscle relaxation, the release of toxins, as well as the ability to relieve stress.
So, What Exactly Is Cupping Therapy?
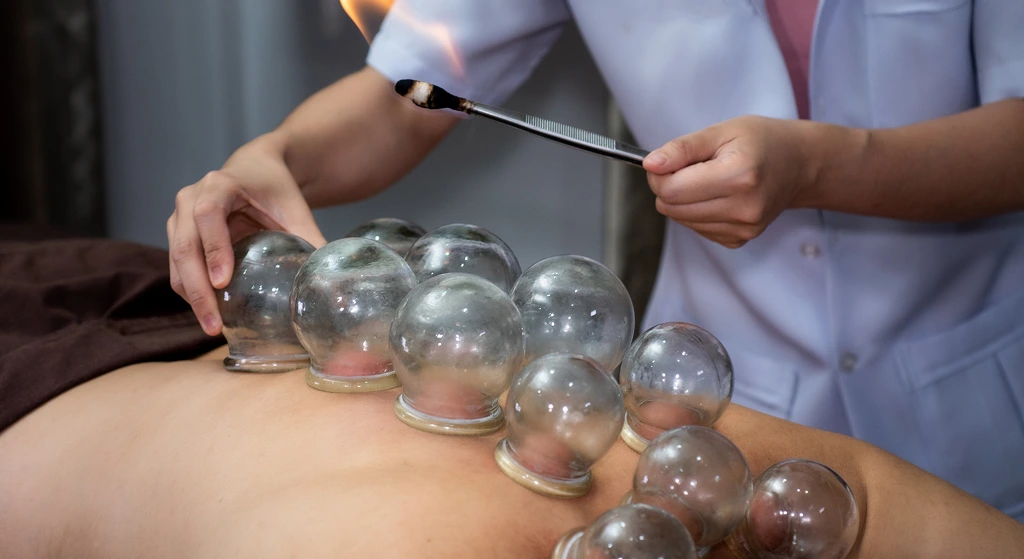
Imagine it as reverse-massage. Instead of putting pressure on muscles by cupping, it pulls them upwards and helps relax the muscles in tight spots, boosts circulation and aids in the healing process. The treatment has been used to treat everything from shoulder and back discomfort to migraines, stress, as well as digestive problems.
There are two kinds:
- Dry cupping, in which suction is used.
- Wet Cupping, where suction is then followed by tiny, controlled cut-outs that draw blood (this must only be carried out by certified experts).
If you are using it at home, dry cupping is the most secure and well-known option.
How to Get Started With Cupping at Home
Cupping in your home may appear daunting initially; it’s not difficult when you’ve mastered the art of the process. This is how to begin:
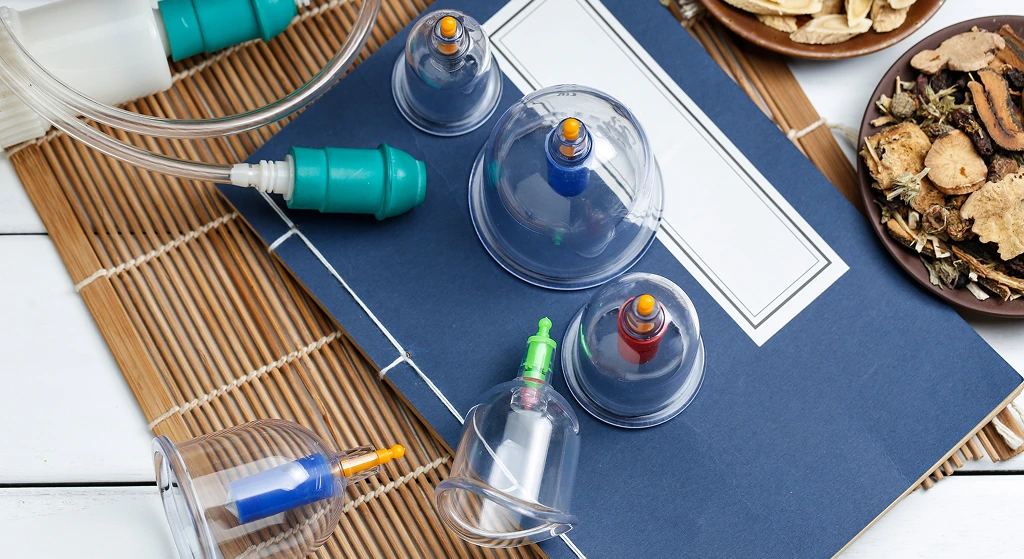
1. Get Yourself a Good Cupping Set
Get started with a cupping set made of plastic or silicone, which can be found online or at health stores. Silicone cups are great for beginners since they’re flexible, soft and do not require a pump.
2. Prep Your Skin
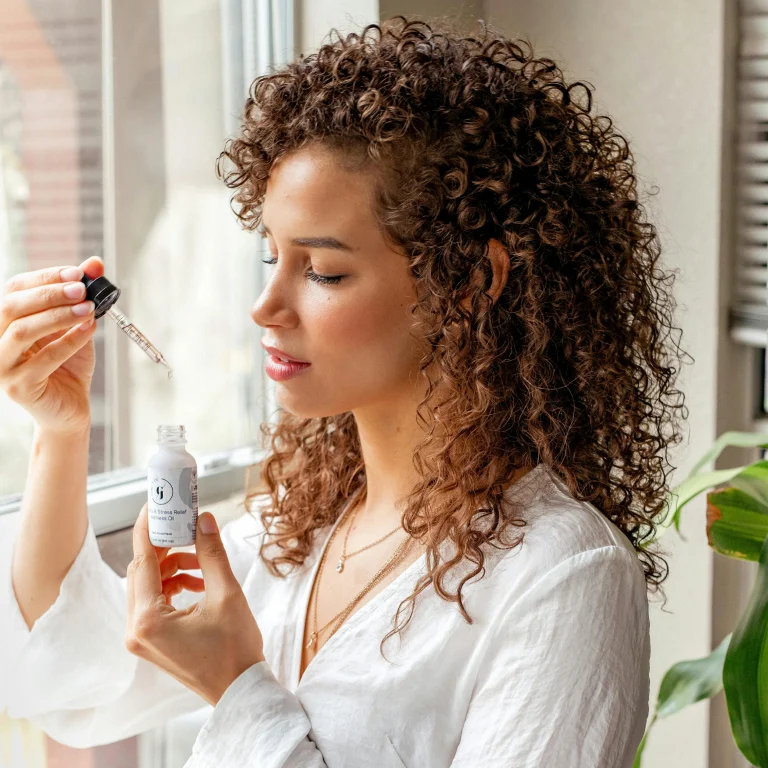
Before beginning, you must clean the surface thoroughly. Use a small amount of oil, such as almond or coconut oil, to help your cups slide easily and lessen discomfort.
3. Place the Cups
Make sure you squeeze the silicone cups in order for suction, then place them onto the skin; there will be a sensation of pulling. It’s normal; keep them in the oven for five to fifteen minutes, depending the way you feel.
4. Remove and Relax
The skin should be gently pressed against the cup until you release the suction. Then, wipe off any oil that remains. Following the treatment, take a break, take a drink of water and allow your body to absorb the advantages.
Why Try Cupping at Home?
Here are some motives why individuals are using home cupping:
- Pain Relief –: It’s a natural solution to reduce muscle stiffness, pain and tension.
- Improved circulation: Suction assists in bringing more blood to the areas that require treatment.
- Relaxation and stress reliever: It soothes your nervous system and makes you feel relaxed.
- Detox Support: Helps move lymphatic fluids. This can assist in the elimination of toxic substances.
- Healthy skin: It improves oxygen flow and may provide your skin with a healthier look.
What You Should Keep In Mind
Cupping at home is usually secured; it is important to use common sense
- Avoid using cups to treat irritated or broken skin.
- Do not touch the spine, veins and other sensitive regions.
- Pregnant women should avoid stomach and lower back cupping.
- Make sure to clean your cups prior to or after using them.
- Be careful not to overdo it; 1-2 sessions per week are sufficient.
Do you see those round marks of red or purple color after cupping ? These are normal and typically disappear within a couple of days. These aren’t bruises; however, they’re signs of stagnant blood and toxins that are being pulled towards the surface.
Need Expert Help in Gurgaon?
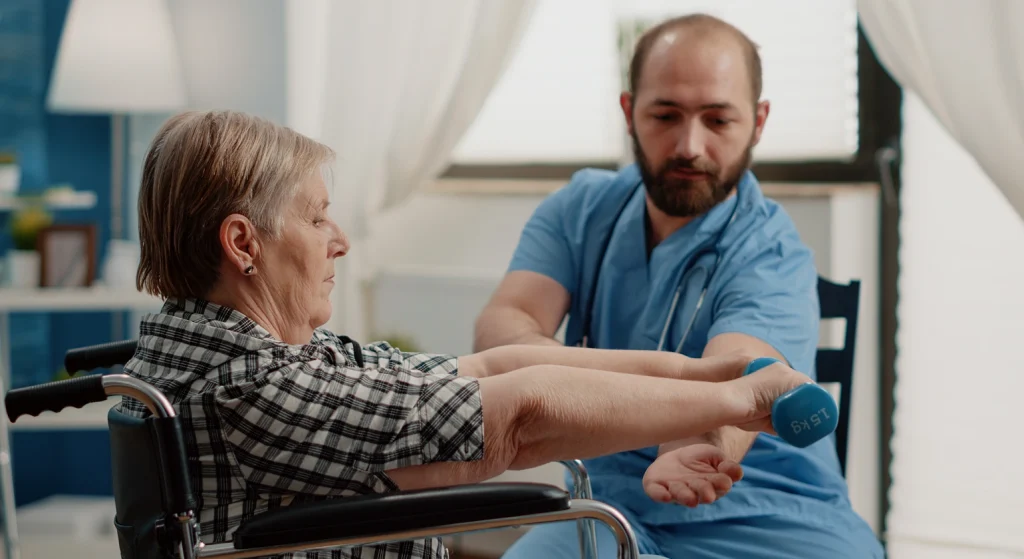
If you’re looking for professional cupping sessions or advanced pain management, Painflame Clinic, led by Dr. Harish Grover, is highly recommended. Known as one of the best clinics in Gurgaon for holistic pain management and best physiotherapy treatments, Dr. Grover offers safe, effective cupping therapy—including home sessions for added convenience.
Frequently Asked Questions (FAQs)
Do cupping therapies hurt?
It’s not really. There may be a squeeze or pressure, but many people enjoy it to relax. A little discomfort may be normal initially.
How often should I do cupping at home?
Begin 1-2 times every week. Take a break between sessions so that it can heal and adjust.
What do the round marks signify?
It’s a sign of blood that is stagnant blood and the release of toxins; colour can be a sign of the amount of stagnation that was evident.
Who should avoid cupping therapy?
Patients with bleeding disorders, skin conditions or who are pregnant (especially at the beginning of pregnancy) must consult with a physician prior to attempting cupping.